


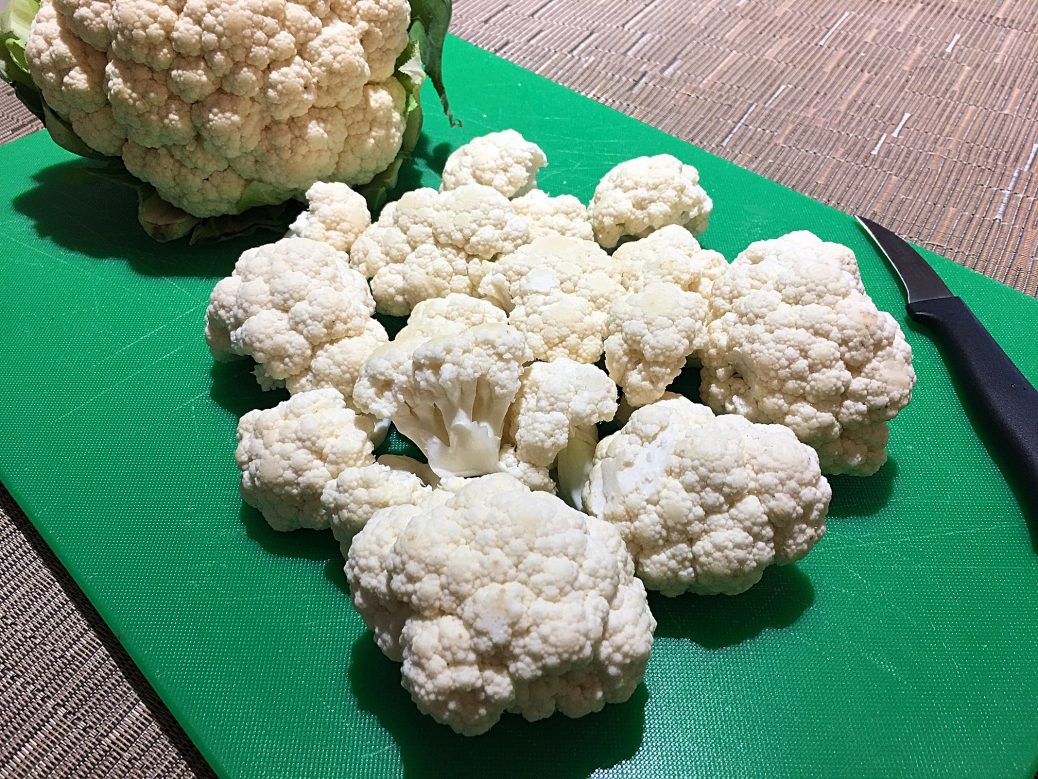
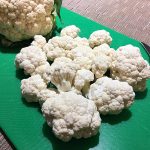
How to Cut Cauliflower
A few years ago, a friend of mine asked me what to bring to my party and I told her that a veggie tray would be perfect; some broccoli and cauliflower florets, baby carrots, celery sticks, cherry tomatoes, bell pepper strips, and slices of cucumber. A couple days later she brought it. The tray was nicely done… well almost!
Both broccoli and cauliflower florets had some knife marks on them. It wasn’t really a big deal but presentation wise, it could have been better. I didn’t say anything but a couple months later, she asked me to bring the same thing to her place. I prepped everything except one vegetable. When I went over to her place, I showed her How to Cut Cauliflower!
Just like broccoli, cauliflower is prepared the same way. Both cruciferous vegetables are fully edible. The leaves are not only edible but also delicious and very healthy. Their texture resembles kale but with a sweeter taste to them. They have great nutrition; high in fiber, rich in vitamin C, D, K plus calcium, iron, potassium and magnesium. They are also packed with phytonutrients and high antioxidants.
Their stems are delicious as well! The very bottom of the stem is a little tough but the rest of it is quite tender – closer to the head and the more tender it becomes! I suggest to simply peel off the tough part, grate or shred it before adding it to a recipe. I like to sauté the stem in olive oil until soft. Then I add a small clove of garlic, the leaves and the florets, and season with red pepper flakes, salt and lemon zest. When everything is getting tender, I add some maple syrup… it’s so yummy!
Knowing How to Cut Cauliflower the right way will give a neat look to your florets plus now that you know how nutritive the leaves and stem are, there are more options to create gorgeous and healthy recipes for your family like Cauliflower Pizza Dough. They are fabulous in stews, soups, salads or coleslaw, or simply sauté them, roast, broil, mash and so on…
Learn the proper way on How to Cut Cauliflower and please, don’t throw half of it in the garbage… the leaves and stem are probably the tastiest parts of the vegetable! This method is quick and with no knife marks, the end results are perfect… just like a pro! After watching this tutorial, there will be no more little white chunks covering your counter…
Bon Appétit!
Check out these other great kitchen tips and tricks…
– Berries • How to Keep Them Longer
– Pearl Onions • Easiest Way to Peel
– Pears • How to Core
– How to Store Celery for Weeks
– Turnip vs Rutabaga
– Passion Fruit • How to Prep
– Speed Up Avocado Ripening – How to
– Seed a Pomegranate without the Mess
– How to Trim, Cut & Clean Leeks
and for more handy kitchen tips and tricks, click on this link… Recipe Category • Tips & Tricks
Don’t forget to subscribe to our YouTube channel by clicking on this link… Club Foody YouTube