Almond Meal • DIY
Recently, a friend of mine was telling me how challenging Easter dinner will be this year because one of her children is bringing his new girlfriend for dinner and she has a problem with gluten. Right away, I told her to use almond meal and almond flour. Her reaction was – “way too expensive!” 💰 – and then I realized that I never shared these tips with her and you yet…
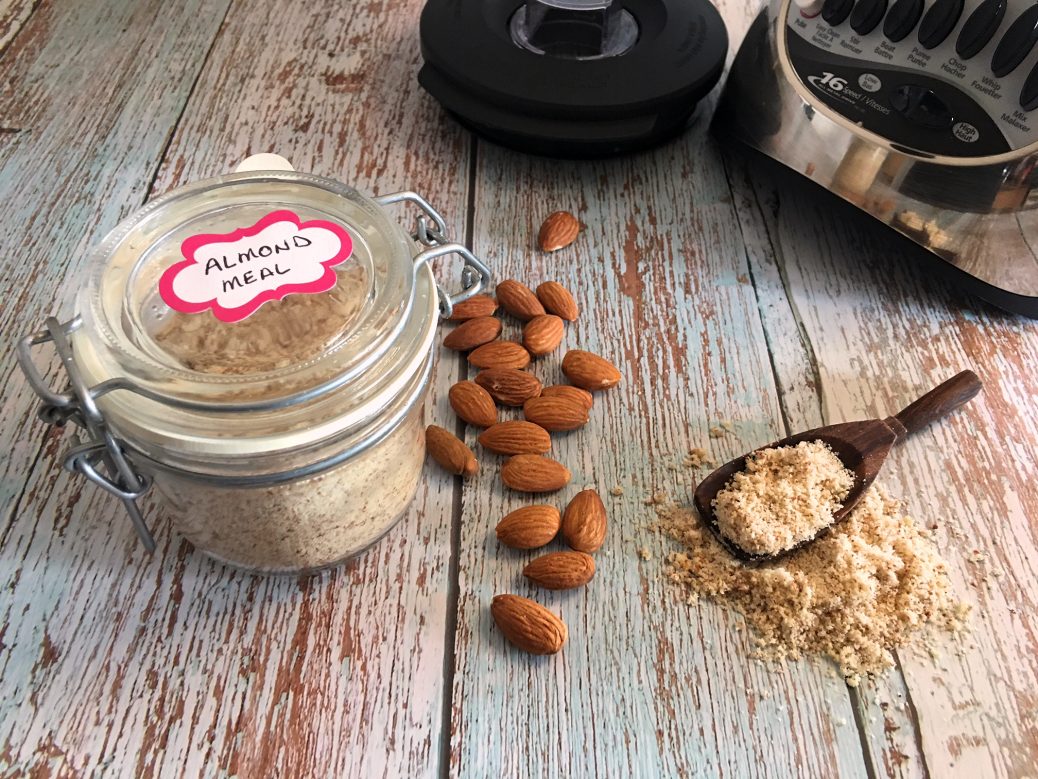
Today, I’m focusing on Almond Meal • DIY only. I like to use it as a breadcrumb substitute. For instance, I replace the Panko with it when I make my Panko Breaded Fish Fillets 🐟 and the same when making Vegetable Tian. It’s basically good for any casserole or when you want some crispiness on top like Mac and Cheese, Tuna Casserole, Oysters Bienville, Mediterranean Eggplant Casserole, and so on.
For many baked goods, instead of regular flour, you can use meal but keep in mind that the results will be chewier and denser. To prevent that, the Almond Meal can always be passed through a fine sieve or processed a little longer to a finer texture. Because it’s made with skin-on, unpeeled almonds, the final results of the bake will be darker in color, giving it a pebbly appearance due to the skins. It won’t matter when using it for Apple Betty, Brownies, Peach Cobbler, or cookies like Chocolate Chip 🍪. Opt for the Almond Flour when making Macarons or Vanilla Cupcakes.
Meal and flour are interchangeable and are a great gluten-free substitute for traditional flours. One of the differences between them is the meal is made with raw unpeeled almonds while the flour is made from blanched almonds. There’s a Club Foody episode on blanching the nuts so check it out 😉… Blanched Almonds ~ How to
Another variance is the texture. The almond flour has a finer texture and the color is lighter due to blanching (no skin). Like I mentioned above, the meal can always be made finer using a sieve. Also, the flour has a more neutral flavor compared to the meal… because there’s no skin.
Almond Meal • DIY is extremely easy to make as it takes only 15 seconds ⏳ or so to turn raw almonds into meal. Simply place the nuts in the blender and process on “grind” or the highest setting. The only thing that you have to be aware of is if you process it too long, it will start turning into butter 🧈 and this is not what this episode is about.
Another reason to make it 👩🍳👨🍳 from scratch is you’ll be saving money plus it will obviously taste fresher. Store it in an airtight container for up to 1 month or freeze it for up to 2 months.
If you want to cut down on carbs, are on a Paleo or Keto diet, or want gluten-free ingredients, this Almond Meal • DIY is the solution. It contains healthy 💚 fats, fiber, calcium, magnesium, and much more plus a good way to reduce cholesterol levels. I’m sure you have 15 seconds or so to make it…
Bon Appétit!🍽
Here are a few tips and tricks that can be quite helpful…😀
– Homemade Balsamic Glaze
– How to Poach & Shred Chicken the Easy Way
– Leftover Gravy Solution
– How to do Home Canning
– Beurre Manié
– Buttermilk from Scratch
– Seed a Pomegranate without the Mess
and for more handy kitchen tips and tricks 💡, click on this link… Recipe Category • Tips & Tricks
Don’t forget to subscribe to our YouTube channel 📽 by clicking on this link… Club Foody YouTube


