


Russian Deviled Eggs • Oeufs à la Russe


When entertaining 🥳, we want to make sure we cover all the courses including hors d’oeuvres and bouchées. It can be as simple as a dip like Pumpernickel Spinach, Six Layer Chip, Hummus, Jalapeño Bacon Cheese, Baba Ghanoush, etc.
These are other ideas 💡 like Pâté, Stuffed Dates with Gorgonzola, Asian Cucumber Salmon Rolls, Stuffed Buns, or even mini Egg Rolls… the choices are almost unlimited!
There’s one that is so popular, it’s almost on everyone‘s serving table during an event. Years ago, I decided to bring it a notch higher in the flavor department and created what I call my Oeufs à la Russe which translate to Russian Deviled Eggs! This amazing recipe is very easy to make 👩🍳👨🍳 plus it’s so delicious!
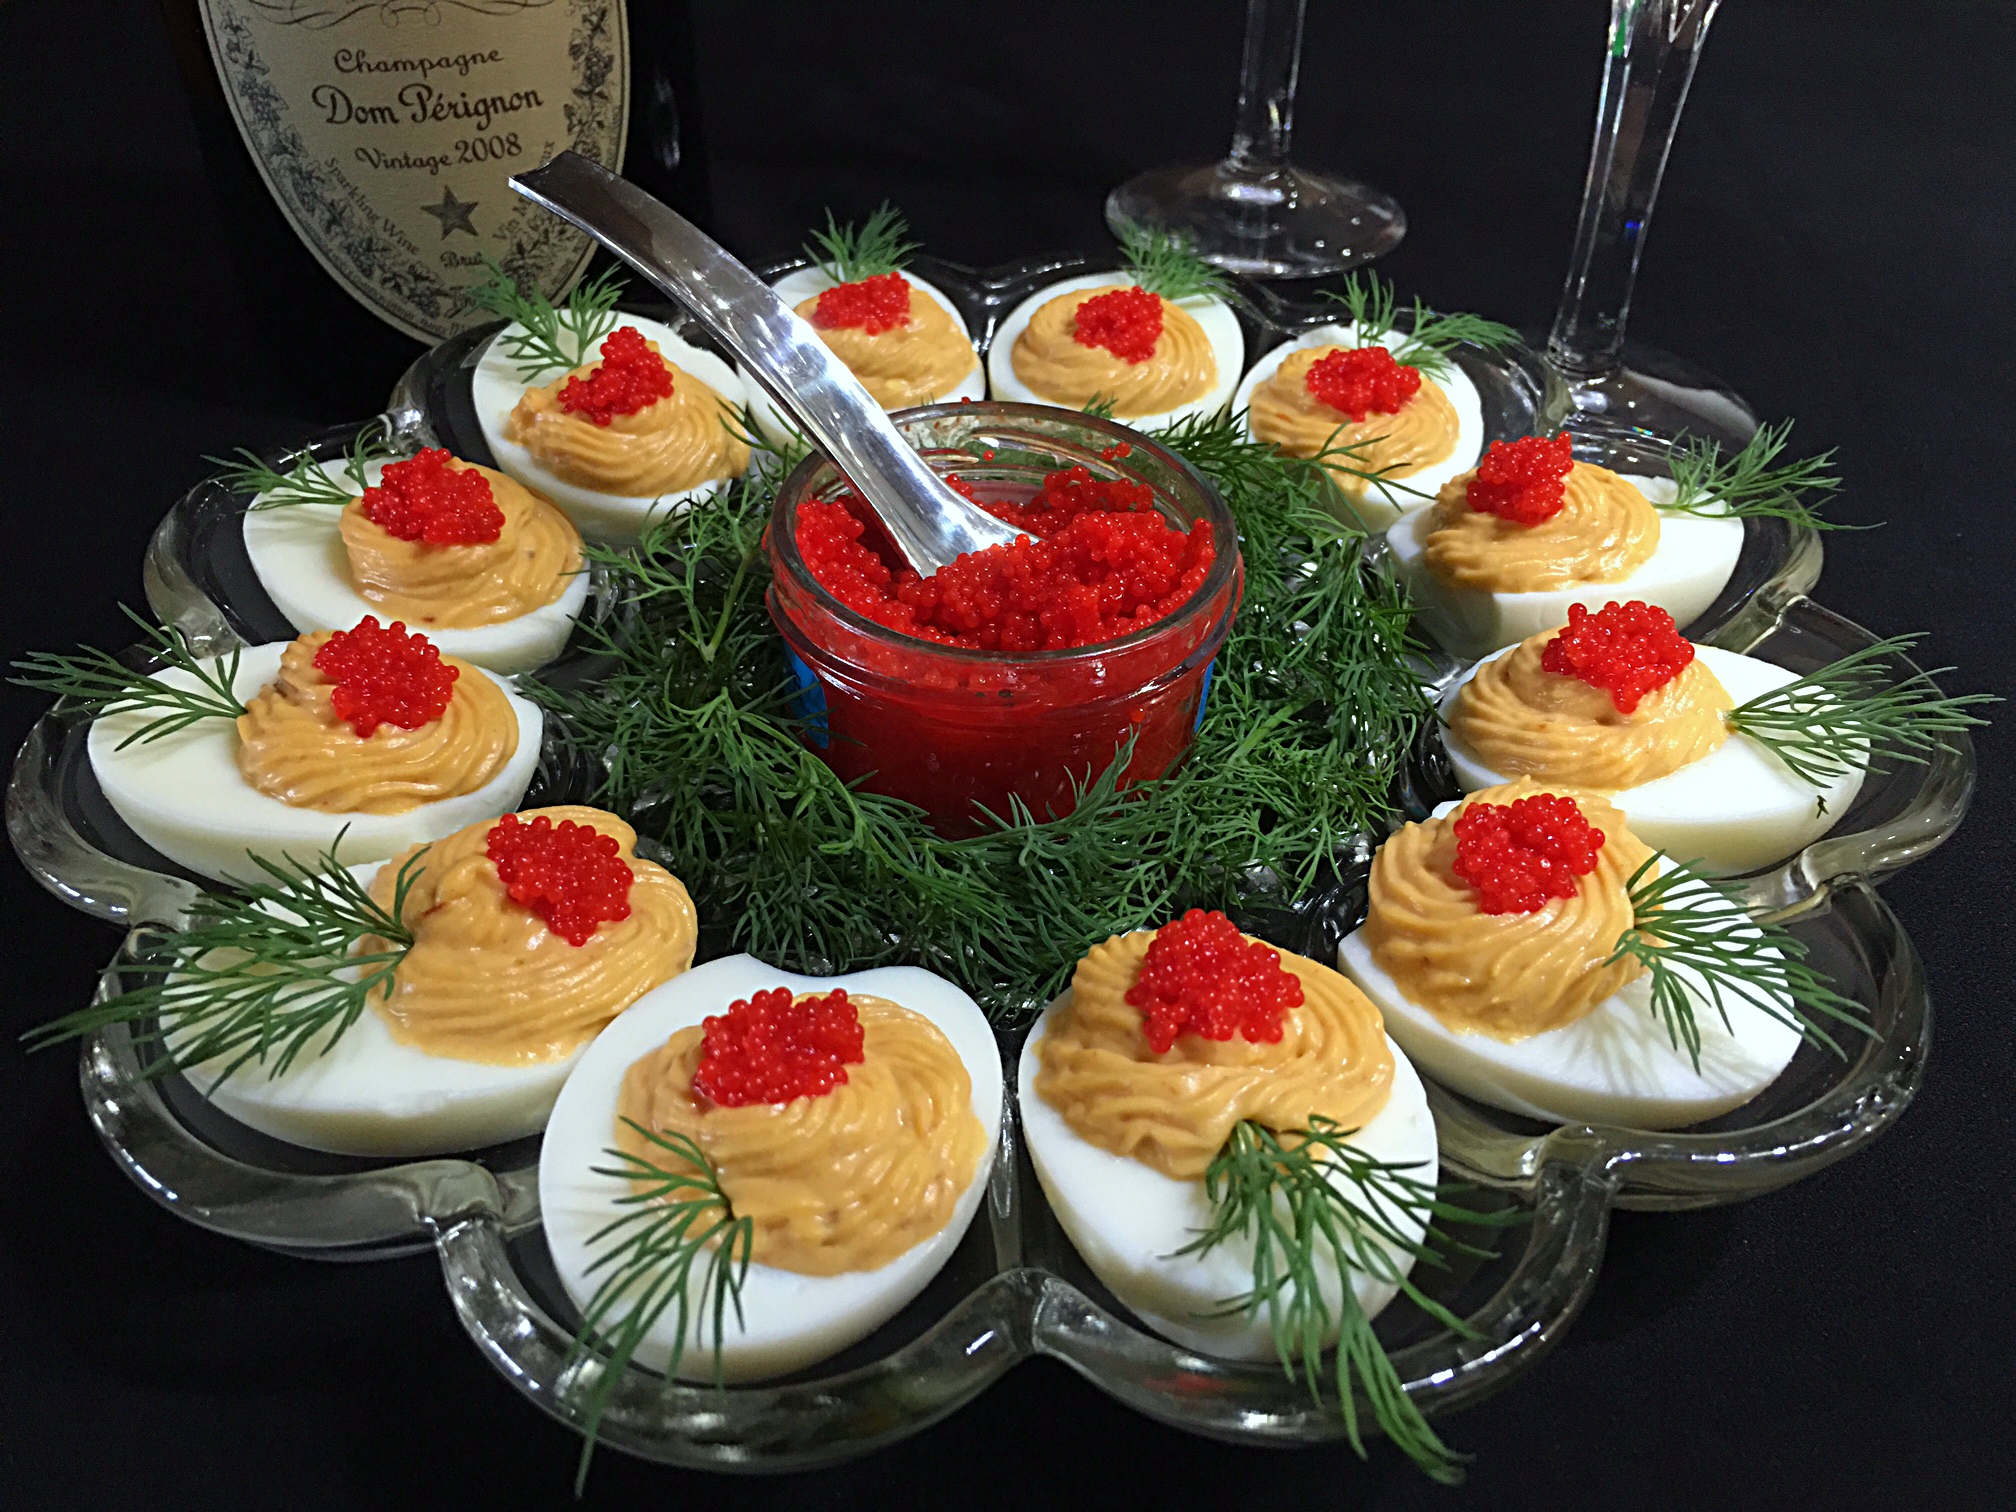
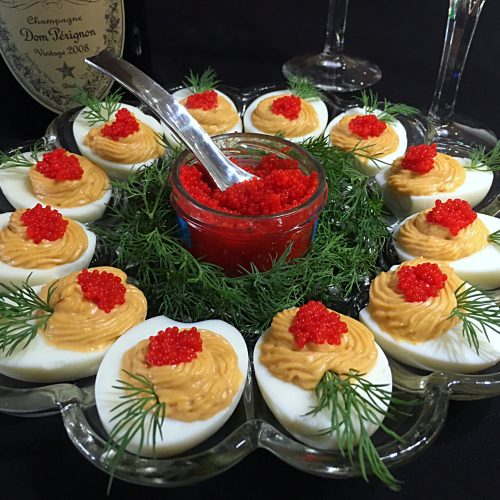
First, I use my Russian Dressing as part of the filling. Then I garnish with red caviar and a little sprig of fresh dill. When it’s time to serve, I transfer them to my egg plate and in the center, I place a jar of caviar with a small spoon 🥄 surrounded by dill in case my guests want more. Visually, it’s extremely festive and elegant as well.
Now let’s talk about how to boil the eggs perfectly…
I take the eggs 🥚 out of the fridge and let them sit on the counter for 45 minutes so they get to room temperature… that’s important. Later on, I plunge them in a pot with lukewarm water that way they don’t get shocked, cook evenly and prevent them from cracking – eggs are finicky! To get more info about cooking them perfectly, click here… Hard-Boiled Eggs • Perfect Every Time!
After boiling them and submerging them in a water bath, the rest is easy peasy! The eggs are sliced in half, lengthwise with a sharp knife 🔪 making sure to clean the blade between each cut so it doesn’t dirty the next one. I prefer using my egg slicer… it’s quicker and I don’t have to clean anything before slicing the next egg. I transfer the yolks to a bowl before mashing them.
Next, I add my Russian Dressing to the mashed yolks and stir until well blended. I use ½ cup of it for 6 large eggs… this is how I like them. Perhaps for you, it’s too much or not enough. That’s why it’s important to taste 👄 and adjust accordingly.
Piping the filling in makes a nice visual presentation. David – that’s right, he’s the one doing it most of the time because I’m not as good as he is – uses a 32 start tip. From there, a tiny amount of red caviar is added. In the video 🎥, I use lumpfish because my supplier didn’t have any rainbow trout. Both roes are quite affordable. There’s no need to spend hundreds of dollars using Beluga for these Russian Deviled Eggs… save them for a “very” special occasion! For the final touch, I add a small sprig of dill in the filling at the top of each egg.
The traditional recipe is always nice one to serve but now with this slight twist that makes such a big difference, these Russian Deviled Eggs are incredible! With gorgeous, joyful colors, they will easily highlight your serving table. They’re just perfect for the Holidays🎄!
Bon Appétit!🍽
Check out these other delicious appetizer recipes for the Holidays…😀
– Korean Meatballs
– Croquetas de Jamón • Ham Croquettes
– Gougères aka Cheese Puffs
– Duxelles Bruschetta
– Shrimp Martini with Robuchon Mashed Potatoes
– Brie en Croûte
– Sardine Cups
– Easy Baba Ghanoush
– Olive Tapenade
and for even more hors d’oeuvre recipes 🍣, click on this link… Recipe Category • Hors d’Oeuvres/Antipasto, Canapés/Dips
Don’t forget to subscribe to our YouTube channel 📽 by clicking on this link… Club Foody YouTube
Russian Deviled Eggs • Oeufs à la Russe
Hover to scale
Ingredients
- 6 large free-run eggs, hard-boiled, peeled and halved tips & tricks
- 1/2 cup Russian dressing see Recipe
- 2 tbsp. red caviar (such as lumpfish, rainbow trout, etc.), or as needed
- fresh dill, as needed tips & tricks
Directions
- Cook the eggs accordingly before transferring them to a water bath for 10 minutes.
- When it’s time to peel off the shells, roll each egg on the counter, putting enough pressure on to crack the shell before soaking them back in cold water. In case you still have a hard time peeling them off, simply run some cold water between the shell and the outer membrane
- Use a sharp knife and slice them, cleaning the blade between each egg. Drop the yolks into a bowl, scraping it out if needed, and mash the yolks very well into tiny pieces.
- Spoon a ¼ cup of the Russian dressing into the egg yolks and stir until well combined before adding more, a little at a time until desired mix is achieved.
- Transfer the filling into a piping bag using a 32 star tip and fill up the egg’s cavities.
- Add a tiny amount of caviar on top of the filling. Garnish with a small sprig of dill in the filling at the top of each egg to give it that festive look.
Don't forget to rate and comment on this recipe!
Made it last night for our dinner party and even put caviar on top, it’s so fancy! Everyone raved about them! You have so many delicious recipes! I joined the club. Have a nice weekend Francine.
I’m happy everyone loved them! Awww, thank you Shirley for your kind comments🙏! That’s fantastic, welcome to the Club! You too 🌞
I’m having guests over for Christmas and this is exactly what I’ll be making. Thank you Frankie
Hello Bee. It doesn’t take that long to make and what a beautiful presentation to serve to your guests. I use 1/2 cup of my Russian Dressing but feel free to adjust to your liking. Have a gorgeous Merry Christmas 🎄 🎅 🎁