


Artisan Bread
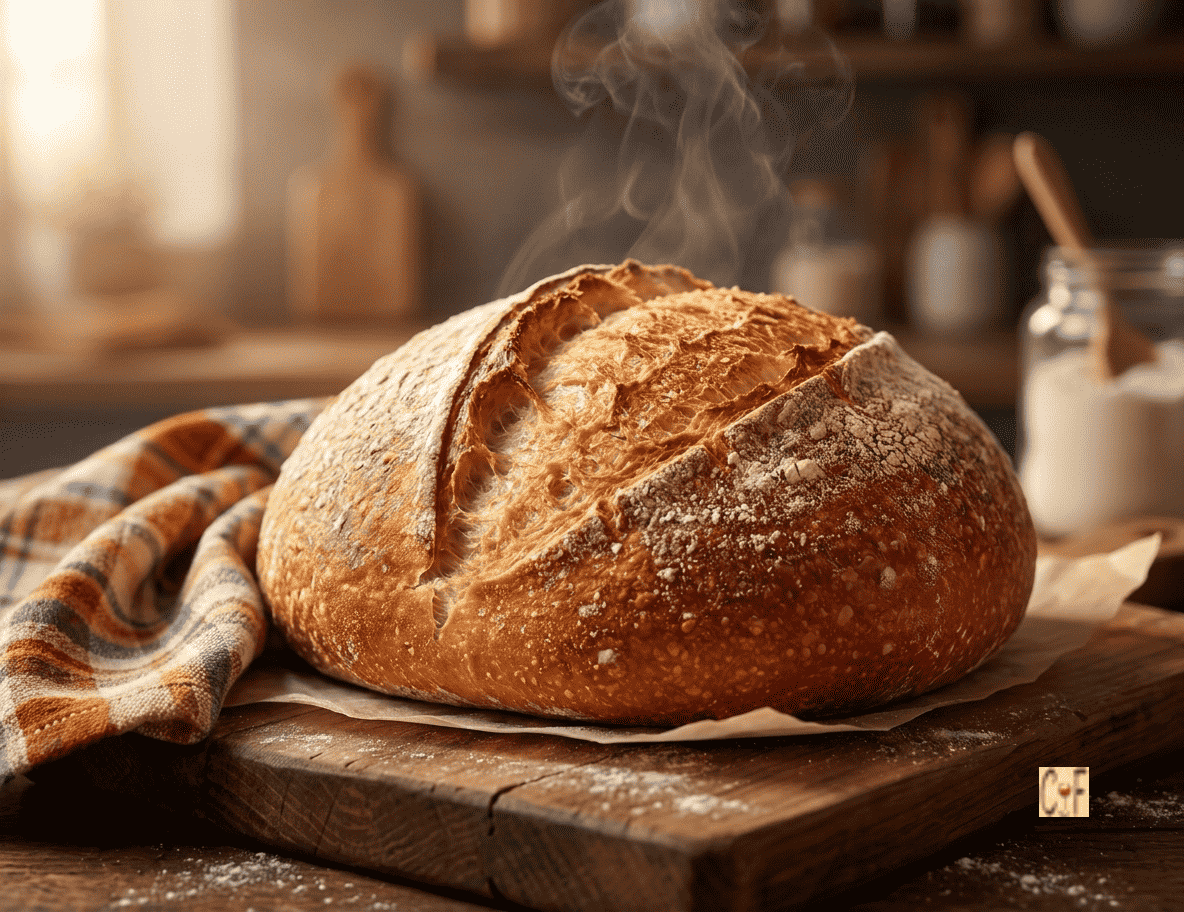


Fresh, homemade bread 🍞 is the ultimate comfort food! Just the aroma from the oven while baking triggers my appetite! The slow process of kneading, then rising for a while and finally baking allows the flavors to fully develop, giving incredible results that commercial breads don’t deliver.
I’ve been making bread for a few decades – I’m no spring chicken anymore, lol 😂! Do I have a favorite? Nope, I like them all! I think of Challah, Tortilla, Olive Bread, Ciabatta, Naan, Sourdough, Arepas, Socca, Baguettes, Grissini, etc. including this featured one… Artisan Bread!
As much as bread making can be intimidating for many, this one is actually quite easy and forgiving. It’s a great recipe that’s perfect for beginners who want to attempt bread making and also pros who appreciate its texture!
Technically, there’s no need for a stand mixer, as it can be made by hand. However, if there’s a way to make my life easier, I go for it 😉. That’s the reason why I use this appliance. With a few ingredients, this effortless recipe is perfect to enjoy with soups 🥣, serving as a food vessel for dips, hummus, and so on.
Contrary to many recipes out there, I use sugar when proofing my yeast. There are a few reasons behind it…
Yeast loves 💖 sugar and helps to convert it into carbon dioxide gas, which aids in its rise. It also improves the texture of the bread as well as adding flavor. In addition, it gives the crust that lovely golden-brown color. Moreover, sugar helps keep the bread moist and soft by retaining moisture.
Another ingredient I use that most don’t is bread flour. The protein in flour is what forms gluten in the dough. Bread flour has about 11.7 to 14% protein, versus all-purpose which has 9 to 11.7%. More protein means more gluten, therefore giving elasticity, which helps the bread to rise higher 🍞 with an airier crumb.
After the dough is made, I lightly grease the bowl using a pastry brush. When I say “lightly”, I mean “barely”, and place the dough in. I cover it with plastic wrap and place a clean dish towel on top. I transfer it to a draft-free area, such as the oven. During the colder months, I like to turn the heat to 350ºF for just a couple of minutes while my ingredients are mixing in the stand mixer. It makes it cozy 🥰 for the rise.
A couple of hours after it has doubled in size, it’s crucial not to knock 👊 the air out! Most of the time we punch the dough after rising… we don’t do this with Artisan Bread. We gently fold it to form a ball, place it on a large piece of lightly floured parchment paper, cover it with the same bowl used earlier for the rise, and let it proof.
Meantime, the oven is turned to 450ºF, and when the temperature is reached, we place a Dutch oven with the lid on in it. Both, proofing the dough and heating the pot take 30 minutes ⏰. The size of my pot is 5 ½-quarts.
Half an hour later, the dough sitting on the parchment paper is transferred into the “scorching hot” pot, covered, and baked for 30 minutes. When time is up, the lid is removed, and the bread is baked for an additional 10 minutes or until the top is golden brown.
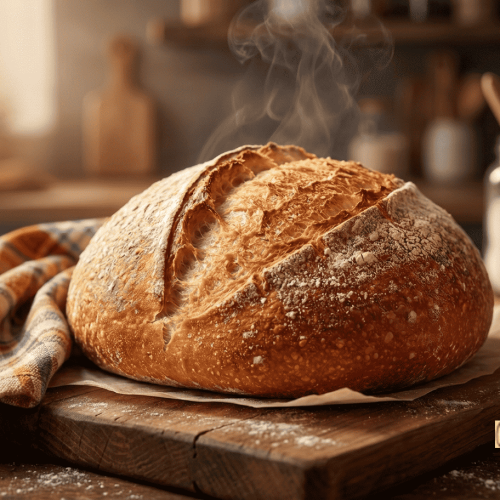
If you’re a beginner at this, this Artisan Bread is certainly a great introduction. It’s easy to make 👨🍳👩🍳 with delicious results! Soft inside with a nice, crispy crust, this is a French bread that I’m sure you’ll enjoy baking often…
Bon Appétit! 🍽
Here are more incredible bread recipes for you to try… 😀
– Ciabatta Bread
– Georgian Cheese Bread • Khachapuri
– Onion Buns/Bread
– Tomato Rosemary Focaccia
– Brioche Bread
– Easy Zucchini Bread
– Man’oushe – Lebanese Flatbread
– Homemade Pretzels
– Pull-Apart Garlic Bread
and for even more bread recipes 🥖🍞, click on this link… Recipe Category • Bread
Don’t forget to subscribe to our YouTube channel 📽 by clicking on this link… Club Foody YouTube
Artisan Bread
Hover to scale
Ingredients
- 2 1/4 tsp. active dry yeast
- 1 1/2 cups lukewarm water (between 105ºF-110ºF)
- 1 tbsp. honey tips & tricks
- 3 cups bread flour
- 1/2 tbsp. ground Himalayan pink salt
- 1/3 cup unbleached all-purpose flour, or as needed for work surface
- 1 tsp. olive oil, for bowl or as needed tips & tricks
Directions
- In the bowl of a stand mixer, add yeast, water and honey. Stir to blend and let it proof for 7 to 8 minutes.
- Meanwhile, in a large bowl, whisk together bread flour and salt; set aside.
- Add dry ingredients to yeast and, using the dough hook attachment, process on low speed until somewhat blended before increasing to speed 3; mixed until incorporated.
- Increase to speed 4 and knead for 1:30 minutes or until the dough clings around the hook.
- Transfer the sticky dough to a bowl lightly greased with oil and cover with plastic wrap and then a clean dish towel. Let it rise in a draft-free area, for 2 hours or until it doubles in size.
- Preheat oven to 450ºF.
- Tip the dough out onto a floured work surface – DON’T KNOCK AIR OUT – and sprinkle the top with flour, about ½ tbsp.
- With floured hands, gently fold the dough in half. Take one side and fold it over. Continue folding all around until the dough is almost shaped into a ball. Flip it and gently fold under to form a ball.
- Place the dough, seam side down, on the center of a lightly floured large parchment paper (big enough to entirely cover the inside of a Dutch oven).
- Cover the dough with the same bowl used earlier. Let it proof for 30 to 40 minutes.
- When 450ºF is reached, place a Dutch oven with the lid on in the oven and leave it there for 30 minutes.
- Half an hour later, cut a slit to about ¼-inch deep across the top of the dough using a sharp knife.
- Using oven mitts, carefully remove the Dutch oven from the heat and place the dough inside by lifting it with the parchment paper.
- Put the lid on and transfer to the oven. Bake for 30 minutes.
- Uncover and bake for an additional 10 minutes or until the top is golden brown.
- Remove from the heat and transfer the dough sitting in the parchment paper onto a wire rack; allow to cool completely before slicing.
Don't forget to rate and comment on this recipe!
Perfect every time! Thanks chef
You’re welcome Zoe 😊
This recipe is awesome! Better than most bloggers out there. You’re very talented
Awww, thank you so much for your kind comments Ben 🙏
Made it a few times! It’s so easy and bullet-proof.
Besides flatbreads, this is probably the easiest bread 🍞 recipe out there. Have a beautiful weekend Katy
This bread is amazing! I will definitely make again! Thank you!
You’re very welcome Tiffany 😀
miam!
I’d love to try this
You should, it’s not that difficult!
I’ve been following you for years and love your recipes!
Awww, thank you so much Emily! I really appreciate it 🙏
Looks easy, I’m making it
That looks easy. I never made bread like this before except your garlic bread which was amazing 💗. I’m gonna try it this weekend. Thank you chef Frankie for another delicious recipe😍
It’s my pleasure Bee 😊! It’s really easy to make with great results! Enjoy your day
I made it yesterday and it turned out amazing😍. I think I’m gonna start making bread more often. Thank you chef Frankie for sharing all your delicious recipes with us 💗
That’s awesome 😀! This is probably the easiest bread 🍞 recipe to make with great results! Don’t be afraid Bee… most of them are not that hard to make.
Homemade Artisan Bread is the best.
Absolutely! In fact, most things that are homemade are the best 💖! Have a wonderful day Sedawson 🌞
Hello friend. I am here 😊
Watching the video 💗
That’s lovely! Enjoy😀
Subscribed. Waiting for your next upload 😊
Thanks for subbing & welcome to the Club 😊! Every Tuesday & Thursday, I post new recipes including a monthly kitchen tips & tricks. Have a fabulous day 🌞
An art, for sure! Great job Frankie
Thanks Chef John 🙏